Upload Image in Apigility:
1.Firstly Create an api with specific name as i created with 'File2' in your RESTful API & create a service with name 'file'. Here my table name is also 'file' in DB.
2.Change the 'Hydrator Service Name' - Zend\Stdlib\Hydrator\ClassMethods
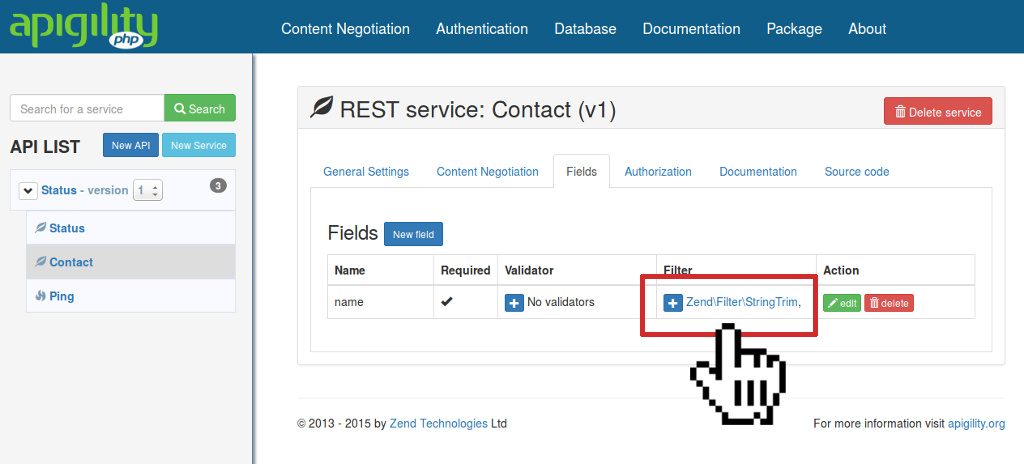
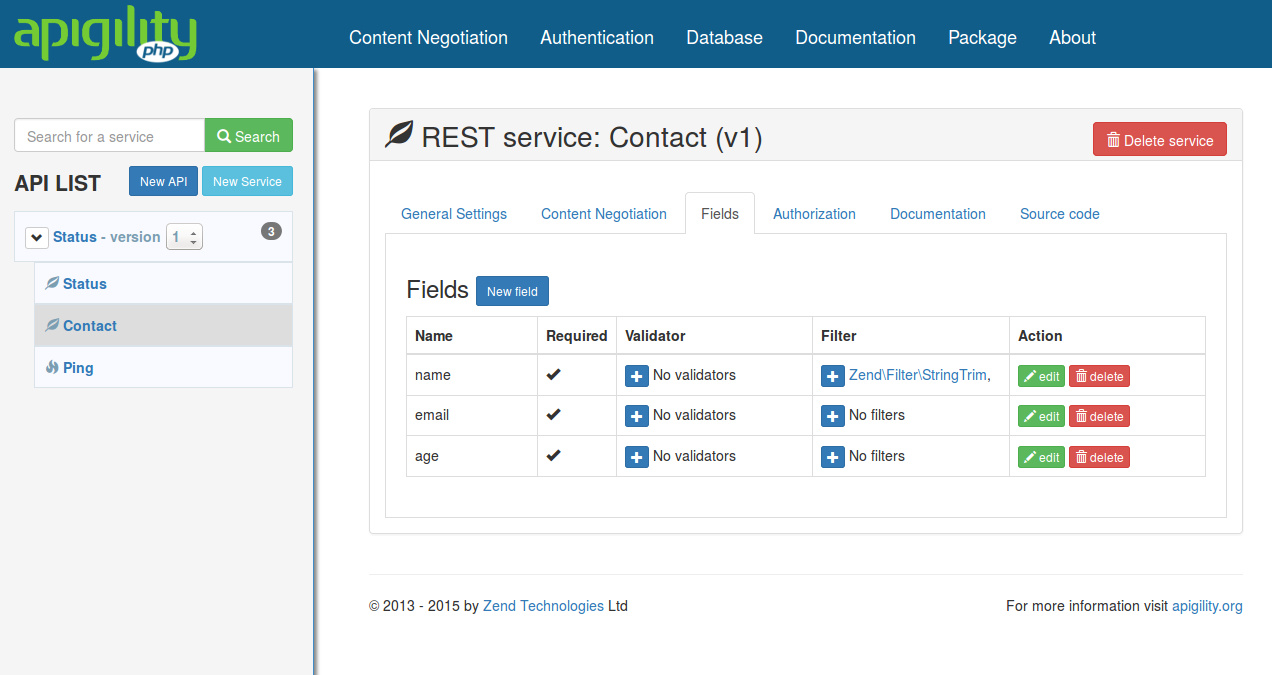
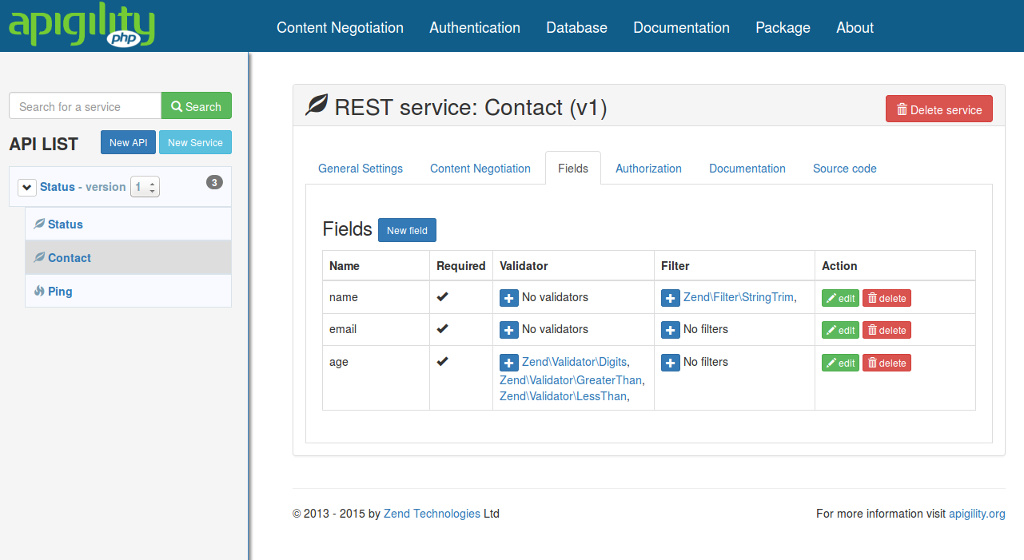
3.Create a field same as your table field name & change this field 'Will this field be a file upload?' - Yes
4.Now in your controller there are only two files:
FileCollection.php
FileEntity.php
5.Now create 4 more files there
FileMapper.php
FileResource.php
FileService.php
FileServiceFactory.php
6.Now go to module/File2/src/File2/module.php and add these functions there.
public function getServiceConfig()
{
return array(
'factories' => array(
'File2\V1\FileService' => 'File2\V1\Rest\File\FileServiceFactory',
'File2\V1\Rest\File\FileResource' => function($sm) {
return new \File2\V1\Rest\File\FileResource($sm);
},
),
'invokables' => array(
'File2\V1\File\FileEntity' => 'File2\V1\Rest\File\FileEntity',
)
);
}
public function getHydratorConfig()
{
return array(
'factories' => array(
'Zend\Stdlib\Hydrator\ClassMethods' => function($sm) {
return new \Zend\Stdlib\Hydrator\ClassMethods(false);
},
),
);
}
7.Now go to your created file FileResource.php and add these here
<?php
namespace File2\V1\Rest\File;
use ZF\ApiProblem\ApiProblem;
use ZF\Rest\AbstractResourceListener;
use Zend\ServiceManager\ServiceManager;
class FileResource extends AbstractResourceListener
{
protected $serviceManager;
public function __construct(ServiceManager $serviceManager)
{
$this->serviceManager = $serviceManager;
}
public function create($data)
{
$uploaddir = '/home/ashishginotra/image/';
$uploadfile = $uploaddir . basename($_FILES['image']['name']);
if (move_uploaded_file($_FILES['image']['tmp_name'], $uploadfile)) {
$data->image = $_FILES['image']['name'];
} else {
/*print something */
}
return $this->getFileService()->saveFile($data);
}
public function getFileService()
{
return $this->getServiceManager()->get('File2\V1\FileService');
}
public function getServiceManager()
{
return $this->serviceManager;
}
public function setServiceManager($serviceManager)
{
$this->serviceManager = $serviceManager;
return $this;
}
}
?>
Here 'image' is my field name in my table 'file'
8. Now go to your crated file FileService.php and add these here
<?php
namespace File2\V1\Rest\File;
use Zend\ServiceManager\ServiceManager;
use Zend\ServiceManager\ServiceManagerAwareInterface;
class FileService implements ServiceManagerAwareInterface
{
protected $serviceManager;
protected $mapper;
public function saveFile($data)
{
$FileEntity = new FileEntity();
$this->getMapper()->getHydrator()->hydrate((array)$data, $FileEntity);
if (!is_null($FileEntity->getid())) {
$this->getMapper()->update($FileEntity);
} else {
$this->getMapper()->insert($FileEntity);
}
return $FileEntity;
}
public function getServiceManager()
{
return $this->serviceManager;
}
public function setServiceManager(ServiceManager $serviceManager)
{
$this->serviceManager = $serviceManager;
return $this;
}
public function getMapper()
{
return $this->mapper;
}
public function setMapper($mapper)
{
$this->mapper = $mapper;
return $this;
}
}
9. Now go to your created file FileMapper.php and add these here
<?php
namespace File2\V1\Rest\File;
use ZfcBase\Mapper\AbstractDbMapper;
use Zend\Paginator\Adapter\DbSelect;
class FileMapper extends AbstractDbMapper
{
protected $tableName = 'file';
public function insert($FileEntity)
{
$result = parent::insert($FileEntity);
$FileEntity->setPostId($result->getGeneratedValue());
}
public function getTableName()
{
return $this->tableName;
}
public function setTableName($tableName)
{
$this->tableName = $tableName;
return $this;
}
}
10. Now go to your created file FileServiceFactory.php and add these here
<?php
namespace File2\V1\Rest\File;
use Zend\ServiceManager\FactoryInterface;
use Zend\ServiceManager\ServiceLocatorInterface;
class FileServiceFactory implements FactoryInterface
{
public function createService(ServiceLocatorInterface $serviceManager)
{
$mapper = new FileMapper;
$mapper->setDbAdapter($serviceManager->get('Zend\Db\Adapter\Adapter'));
$mapper->setEntityPrototype($serviceManager->get('File2\V1\File\FileEntity'));
$mapper->getHydrator()->setUnderscoreSeparatedKeys(false);
$service = new FileService();
$service->setMapper($mapper);
return $service;
}
}
11. Now go to FileEntity.php and change it as :
<?php
namespace File2\V1\Rest\File;
class FileEntity
{
protected $id;
protected $image;
public function getid()
{
return $this->id;
}
public function setid($id)
{
$this->id = $id;
return $this;
}
public function getimage()
{
return $this->image;
}
public function setimage($image)
{
$this->image = $image;
return $this;
}
}
12. Now go to 'Postman' which is your REST client application & set header Mime-type - mulipart/form-data , select form-data Type 'file' and upload your image. You can do it also using json format and using 64 base encode format instead of file .
Thanks
1.Firstly Create an api with specific name as i created with 'File2' in your RESTful API & create a service with name 'file'. Here my table name is also 'file' in DB.
2.Change the 'Hydrator Service Name' - Zend\Stdlib\Hydrator\ClassMethods
3.Create a field same as your table field name & change this field 'Will this field be a file upload?' - Yes
4.Now in your controller there are only two files:
FileCollection.php
FileEntity.php
5.Now create 4 more files there
FileMapper.php
FileResource.php
FileService.php
FileServiceFactory.php
6.Now go to module/File2/src/File2/module.php and add these functions there.
public function getServiceConfig()
{
return array(
'factories' => array(
'File2\V1\FileService' => 'File2\V1\Rest\File\FileServiceFactory',
'File2\V1\Rest\File\FileResource' => function($sm) {
return new \File2\V1\Rest\File\FileResource($sm);
},
),
'invokables' => array(
'File2\V1\File\FileEntity' => 'File2\V1\Rest\File\FileEntity',
)
);
}
public function getHydratorConfig()
{
return array(
'factories' => array(
'Zend\Stdlib\Hydrator\ClassMethods' => function($sm) {
return new \Zend\Stdlib\Hydrator\ClassMethods(false);
},
),
);
}
7.Now go to your created file FileResource.php and add these here
<?php
namespace File2\V1\Rest\File;
use ZF\ApiProblem\ApiProblem;
use ZF\Rest\AbstractResourceListener;
use Zend\ServiceManager\ServiceManager;
class FileResource extends AbstractResourceListener
{
protected $serviceManager;
public function __construct(ServiceManager $serviceManager)
{
$this->serviceManager = $serviceManager;
}
public function create($data)
{
$uploaddir = '/home/ashishginotra/image/';
$uploadfile = $uploaddir . basename($_FILES['image']['name']);
if (move_uploaded_file($_FILES['image']['tmp_name'], $uploadfile)) {
$data->image = $_FILES['image']['name'];
} else {
/*print something */
}
return $this->getFileService()->saveFile($data);
}
public function getFileService()
{
return $this->getServiceManager()->get('File2\V1\FileService');
}
public function getServiceManager()
{
return $this->serviceManager;
}
public function setServiceManager($serviceManager)
{
$this->serviceManager = $serviceManager;
return $this;
}
}
?>
Here 'image' is my field name in my table 'file'
8. Now go to your crated file FileService.php and add these here
<?php
namespace File2\V1\Rest\File;
use Zend\ServiceManager\ServiceManager;
use Zend\ServiceManager\ServiceManagerAwareInterface;
class FileService implements ServiceManagerAwareInterface
{
protected $serviceManager;
protected $mapper;
public function saveFile($data)
{
$FileEntity = new FileEntity();
$this->getMapper()->getHydrator()->hydrate((array)$data, $FileEntity);
if (!is_null($FileEntity->getid())) {
$this->getMapper()->update($FileEntity);
} else {
$this->getMapper()->insert($FileEntity);
}
return $FileEntity;
}
public function getServiceManager()
{
return $this->serviceManager;
}
public function setServiceManager(ServiceManager $serviceManager)
{
$this->serviceManager = $serviceManager;
return $this;
}
public function getMapper()
{
return $this->mapper;
}
public function setMapper($mapper)
{
$this->mapper = $mapper;
return $this;
}
}
9. Now go to your created file FileMapper.php and add these here
<?php
namespace File2\V1\Rest\File;
use ZfcBase\Mapper\AbstractDbMapper;
use Zend\Paginator\Adapter\DbSelect;
class FileMapper extends AbstractDbMapper
{
protected $tableName = 'file';
public function insert($FileEntity)
{
$result = parent::insert($FileEntity);
$FileEntity->setPostId($result->getGeneratedValue());
}
public function getTableName()
{
return $this->tableName;
}
public function setTableName($tableName)
{
$this->tableName = $tableName;
return $this;
}
}
10. Now go to your created file FileServiceFactory.php and add these here
<?php
namespace File2\V1\Rest\File;
use Zend\ServiceManager\FactoryInterface;
use Zend\ServiceManager\ServiceLocatorInterface;
class FileServiceFactory implements FactoryInterface
{
public function createService(ServiceLocatorInterface $serviceManager)
{
$mapper = new FileMapper;
$mapper->setDbAdapter($serviceManager->get('Zend\Db\Adapter\Adapter'));
$mapper->setEntityPrototype($serviceManager->get('File2\V1\File\FileEntity'));
$mapper->getHydrator()->setUnderscoreSeparatedKeys(false);
$service = new FileService();
$service->setMapper($mapper);
return $service;
}
}
11. Now go to FileEntity.php and change it as :
<?php
namespace File2\V1\Rest\File;
class FileEntity
{
protected $id;
protected $image;
public function getid()
{
return $this->id;
}
public function setid($id)
{
$this->id = $id;
return $this;
}
public function getimage()
{
return $this->image;
}
public function setimage($image)
{
$this->image = $image;
return $this;
}
}
12. Now go to 'Postman' which is your REST client application & set header Mime-type - mulipart/form-data , select form-data Type 'file' and upload your image. You can do it also using json format and using 64 base encode format instead of file .
Thanks