Api through Apigility:
Install Apigility:
For installing apigility , open terminal & run this command where you want to install apigility.
curl -sS https://apigility.org/install | php
After that run this command for composer.phar
$ php composer.phar require "zfcampus/statuslib-example:~1.0-dev"
Configure files:
Now go to this file config/autoload/local.php
And replace
return array(
'db' => array(
'driver' => 'Pdo_Mysql',
'dsn' => 'mysql:dbname=database_name;host=localhost',
'username' => 'user_name',
'password' => 'user_pass',
'driver_options' => array(
1002 => 'SET NAMES \'UTF8\'',
),
'adapters' => array(
'mainadapter' => array(
'driver' => 'Pdo_Mysql',
'database' => 'database_name',
'username' => 'user_name',
'password' => 'user_pass',
'hostname' => '127.0.0.1',
'charset' => 'utf8',
),
),
),
Now go to config/application.config.php
and edit
array(
    'modules' => array(
        /* ... */
        'StatusLib',
    ),
    /* ... */
)
Create a PHP file
data/statuslib.php that returns an array:
<?php
return array();
Now create a hash using http://www.htaccesstools.com/htpasswd-generator/ and put it in
data/htpasswd file. Here put a username and password which you want to authenticate.
Run for port 8888:
Run this command in your terminal where public is folder in side apigility folder
php -S localhost:8888 -t public public/index.php
and keep it as it is. Don't stop this command.
Create REST Api:
Go to http://localhost. Then click on 'Admin' and then 'APIs'
Create new api with name 'Status'.
Now refresh page and click on 'Status'.
Goto Rest Service and click for new one.
Go to DB connected and select 'mainadapter'. put table name 'status' and create DB connected.
Also create table 'status' in your db.
Make sure your config, data and module folder has write permission.
Now setting all the page according to these images.
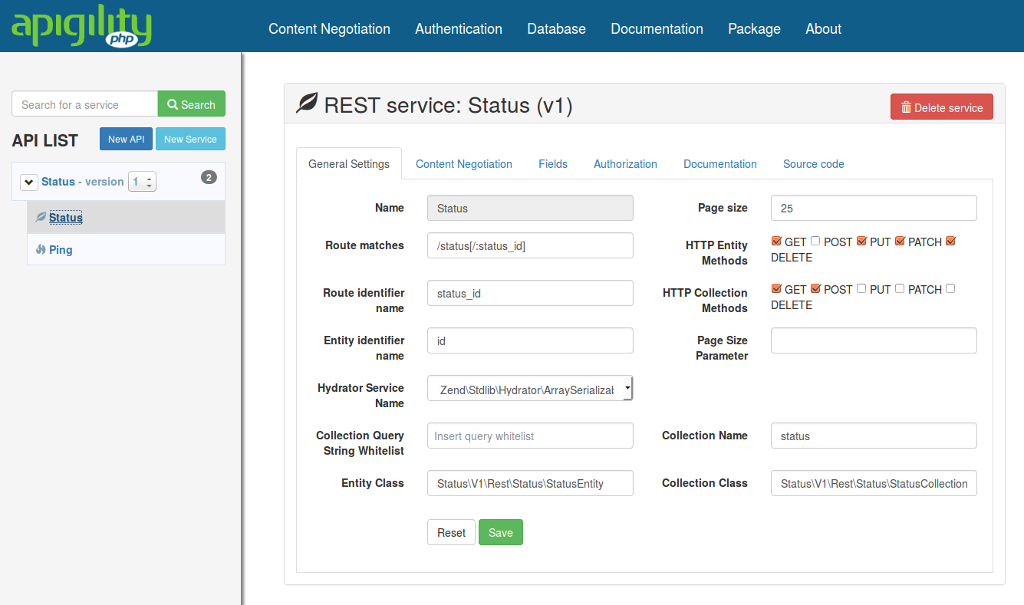

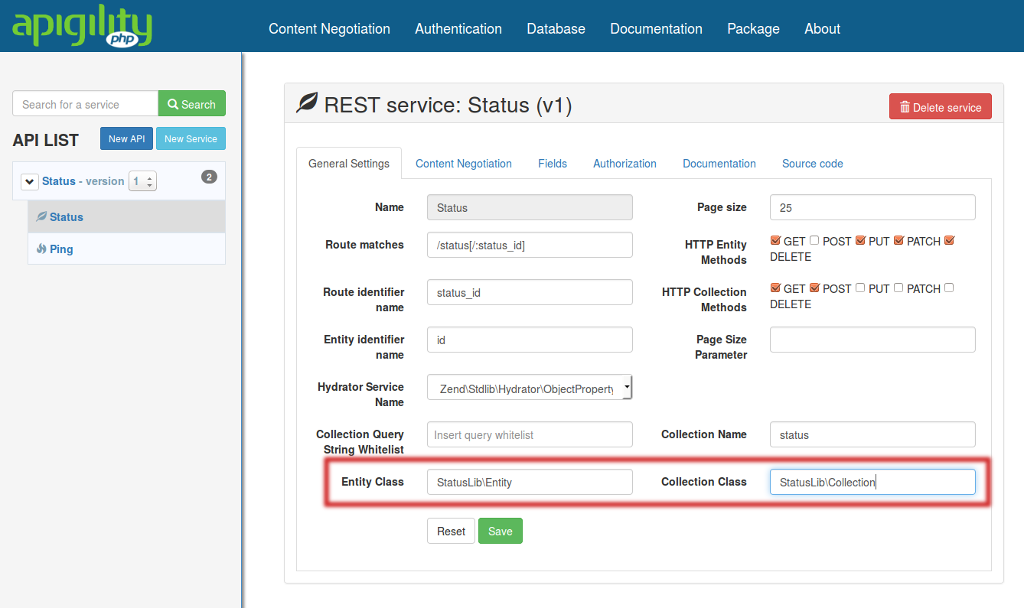
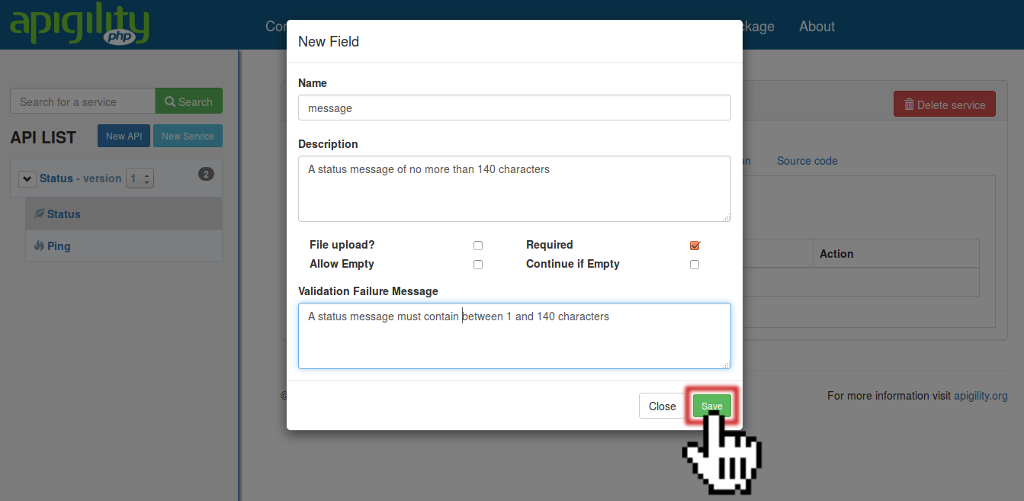

These field names should be accordingly your table fields.
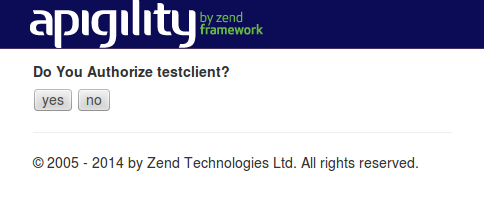
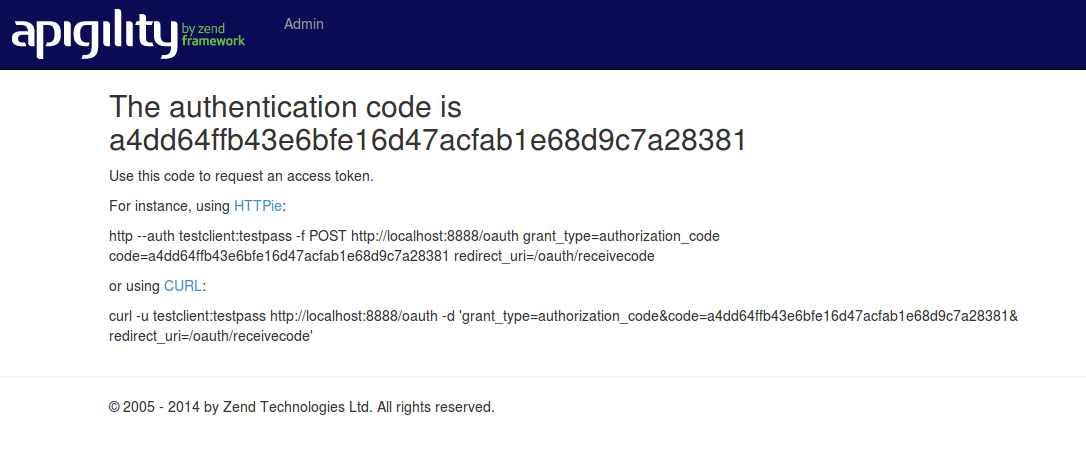
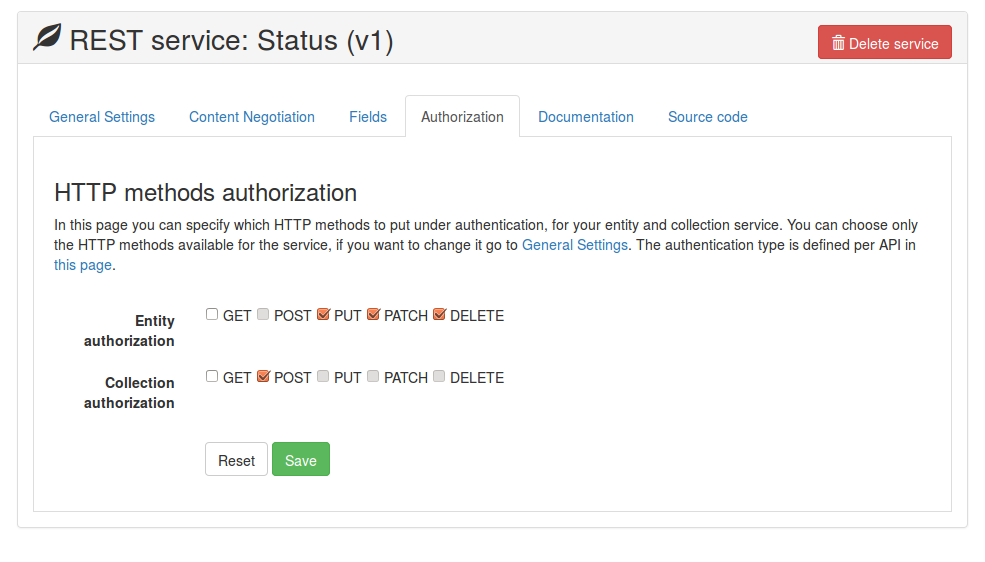
Now go to authorization and do this
Now create a new file
module/Status/src/Status/V1/Rest/Status/StatusResource.php
and add
<?php
namespace Status\V1\Rest\Status;
use StatusLib\MapperInterface;
use ZF\ApiProblem\ApiProblem;
use ZF\Rest\AbstractResourceListener;
class StatusResource extends AbstractResourceListener
{
protected $mapper;
public function __construct(MapperInterface $mapper)
{
$this->mapper = $mapper;
}
/**
* Create a resource
*
* @param mixed $data
* @return ApiProblem|mixed
*/
public function create($data)
{
//return new ApiProblem(405, 'The POST method has not been defined');
return $this->mapper->create($data);
}
/**
* Delete a resource
*
* @param mixed $id
* @return ApiProblem|mixed
*/
public function delete($id)
{
//return new ApiProblem(405, 'The DELETE method has not been defined for individual resources');
return $this->mapper->delete($id);
}
/**
* Delete a collection, or members of a collection
*
* @param mixed $data
* @return ApiProblem|mixed
*/
public function deleteList($data)
{
//return new ApiProblem(405, 'The DELETE method has not been defined for collections');
return $this->mapper->deleteList($data);
}
/**
* Fetch a resource
*
* @param mixed $id
* @return ApiProblem|mixed
*/
public function fetch($id)
{
//return new ApiProblem(405, 'The GET method has not been defined for individual resources');
return $this->mapper->fetch($id);
}
/**
* Fetch all or a subset of resources
*
* @param array $params
* @return ApiProblem|mixed
*/
public function fetchAll($params = array())
{
//return new ApiProblem(405, 'The GET method has not been defined for collections');
return $this->mapper->fetchAll();
}
/**
* Patch (partial in-place update) a resource
*
* @param mixed $id
* @param mixed $data
* @return ApiProblem|mixed
*/
public function patch($id, $data)
{
// return new ApiProblem(405, 'The PATCH method has not been defined for individual resources');
return $this->mapper->update($id, $data);
}
/**
* Replace a collection or members of a collection
*
* @param mixed $data
* @return ApiProblem|mixed
*/
public function replaceList($data)
{
return new ApiProblem(405, 'The PUT method has not been defined for collections');
}
/**
* Update a resource
*
* @param mixed $id
* @param mixed $data
* @return ApiProblem|mixed
*/
public function update($id, $data)
{
//return new ApiProblem(405, 'The PUT method has not been defined for individual resources');
return $this->mapper->update($id, $data);
}
}
Now create a new file
module/Status/src/Status/V1/Rest/Status/StatusResourceFactory.php
and add
<?php
namespace Status\V1\Rest\Status;
class StatusResourceFactory
{
public function __invoke($services)
{
return new StatusResource($services->get('StatusLib\Mapper'));
}
}
Its Done Now.
For testing:
GET /status HTTP/1.1
Accept: application/json
You will get your table data in JSON format
Thanks