Oauth2 Access & Refresh Token:
For set up of oauth2 go to your config/autoload/local.php and add it in return array
'zf-oauth2' => array(
'storage' => 'ZF\\OAuth2\\Adapter\\PdoAdapter',
'db' => array(
'dsn' => 'mysql:dbname=zend_db;host=localhost;charset=utf8',
'username' => 'root',
'password' => 'root',
),
'allow_implicit' => true,
'enforce_state' => true,
),
Set your configuration according to your requirements.
Create your tables accordingly this file
Password and Client Secret should be in bcrypt form
Now for testing run this in your address bar
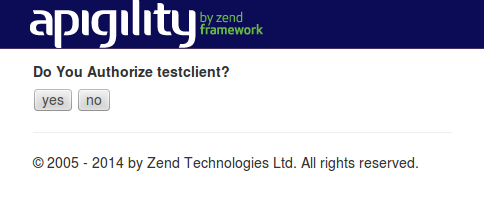
Now click on yes.
It will show a screen like
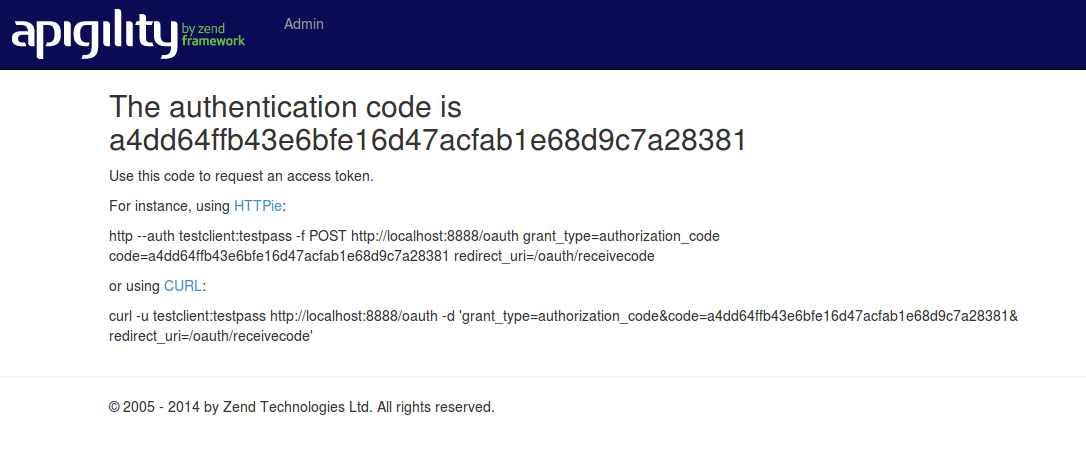
Now run curl command in your terminal with in 30 seconds. It will provide you access and refresh token.
Thanks
For set up of oauth2 go to your config/autoload/local.php and add it in return array
'zf-oauth2' => array(
'storage' => 'ZF\\OAuth2\\Adapter\\PdoAdapter',
'db' => array(
'dsn' => 'mysql:dbname=zend_db;host=localhost;charset=utf8',
'username' => 'root',
'password' => 'root',
),
'allow_implicit' => true,
'enforce_state' => true,
),
Set your configuration according to your requirements.
Create your tables accordingly this file
vendor/zfcampus/zf-oauth2/data/db_oauth2.sql Insert these fields accordingly your tablesclient_id testclient and client_secret testpass, and a user with username testuser
and a password testpass.Password and Client Secret should be in bcrypt form
Now for testing run this in your address bar
http://localhost/oauth/authorize?response_type=code&client_id=testclient&redirect_uri=/oauth/receivecode&state=xyz
Now it will show a screen like
Now click on yes.
It will show a screen like
Now run curl command in your terminal with in 30 seconds. It will provide you access and refresh token.
Thanks
No comments:
Post a Comment